Fix chill index formula as suggested by @facko79. Chill index is computed only for temperatures less then 10°C (50°F). Otherwise real temperature is returned. |
||
|---|---|---|
| .github/workflows | ||
| README | ||
| custom_components/sws12500 | ||
| .gitignore | ||
| LICENSE | ||
| README.md | ||
| firmware_bug.md | ||
| hacs.json | ||
| install_iptables.sh | ||
| iptables_redirect.sh | ||
README.md
Integrates your SWS 12500 weather station seamlessly into Home Assistant
This integration will listen for data from your station and passes them to respective sensors. It also provides the ability to push data to Windy API.
This custom component replaces old integration via Node-RED and proxy server.
Requirements
- Sencor SWS 12500 Weather Station.
- Configure station to send data directly to Home Assistant.
- If you want to push data to Windy, you have to create an account at Windy.
Installation
If your station's firmware is 1.0 or your station is configured as described in this README and you still can not see any data incoming to Home Assistant please read here and here
HACS installation
For installation with HACS, you have to first add a custom repository.
You will need to enter the URL of this repository when prompted: https://github.com/schizza/SWS-12500-custom-component.
After adding this repository to HACS:
- Go to HACS -> Integrations
- Search for the integration
Sencor SWS 12500 Weather stationand download the integration. - Restart Home Assistant
- Now go to
Integrationsand add new integration. Search forSencor SWS 12500 Weather stationand select it.
Manual installation
For manual installation you must have an access to your Home Assistant's /config folder.
-
Clone this repository or download latest release here.
-
Copy the
custom_components/sws12500-custom-componentfolder to yourconfig/custom_componentsfolder in Home Assistant. -
Restart Home Assistant.
-
Now go to
Integrationsand add new integrationSencor SWS 12500 Weather station
Configure your station in AP mode
- Hold the Wi-Fi button on the back of the station for 6 seconds until the AP will flash on the display.
- Select your station from available APs on your computer.
- Connect to the station's setup page:
http://192.168.1.1from your browser. - In the third URL section fill in the address to your local Home Assistant installation.
- Create new
IDandKEY. You can use online tool to generate random keys. (you will need them to configure integation to Home Assistatnt) - Save your configuration.
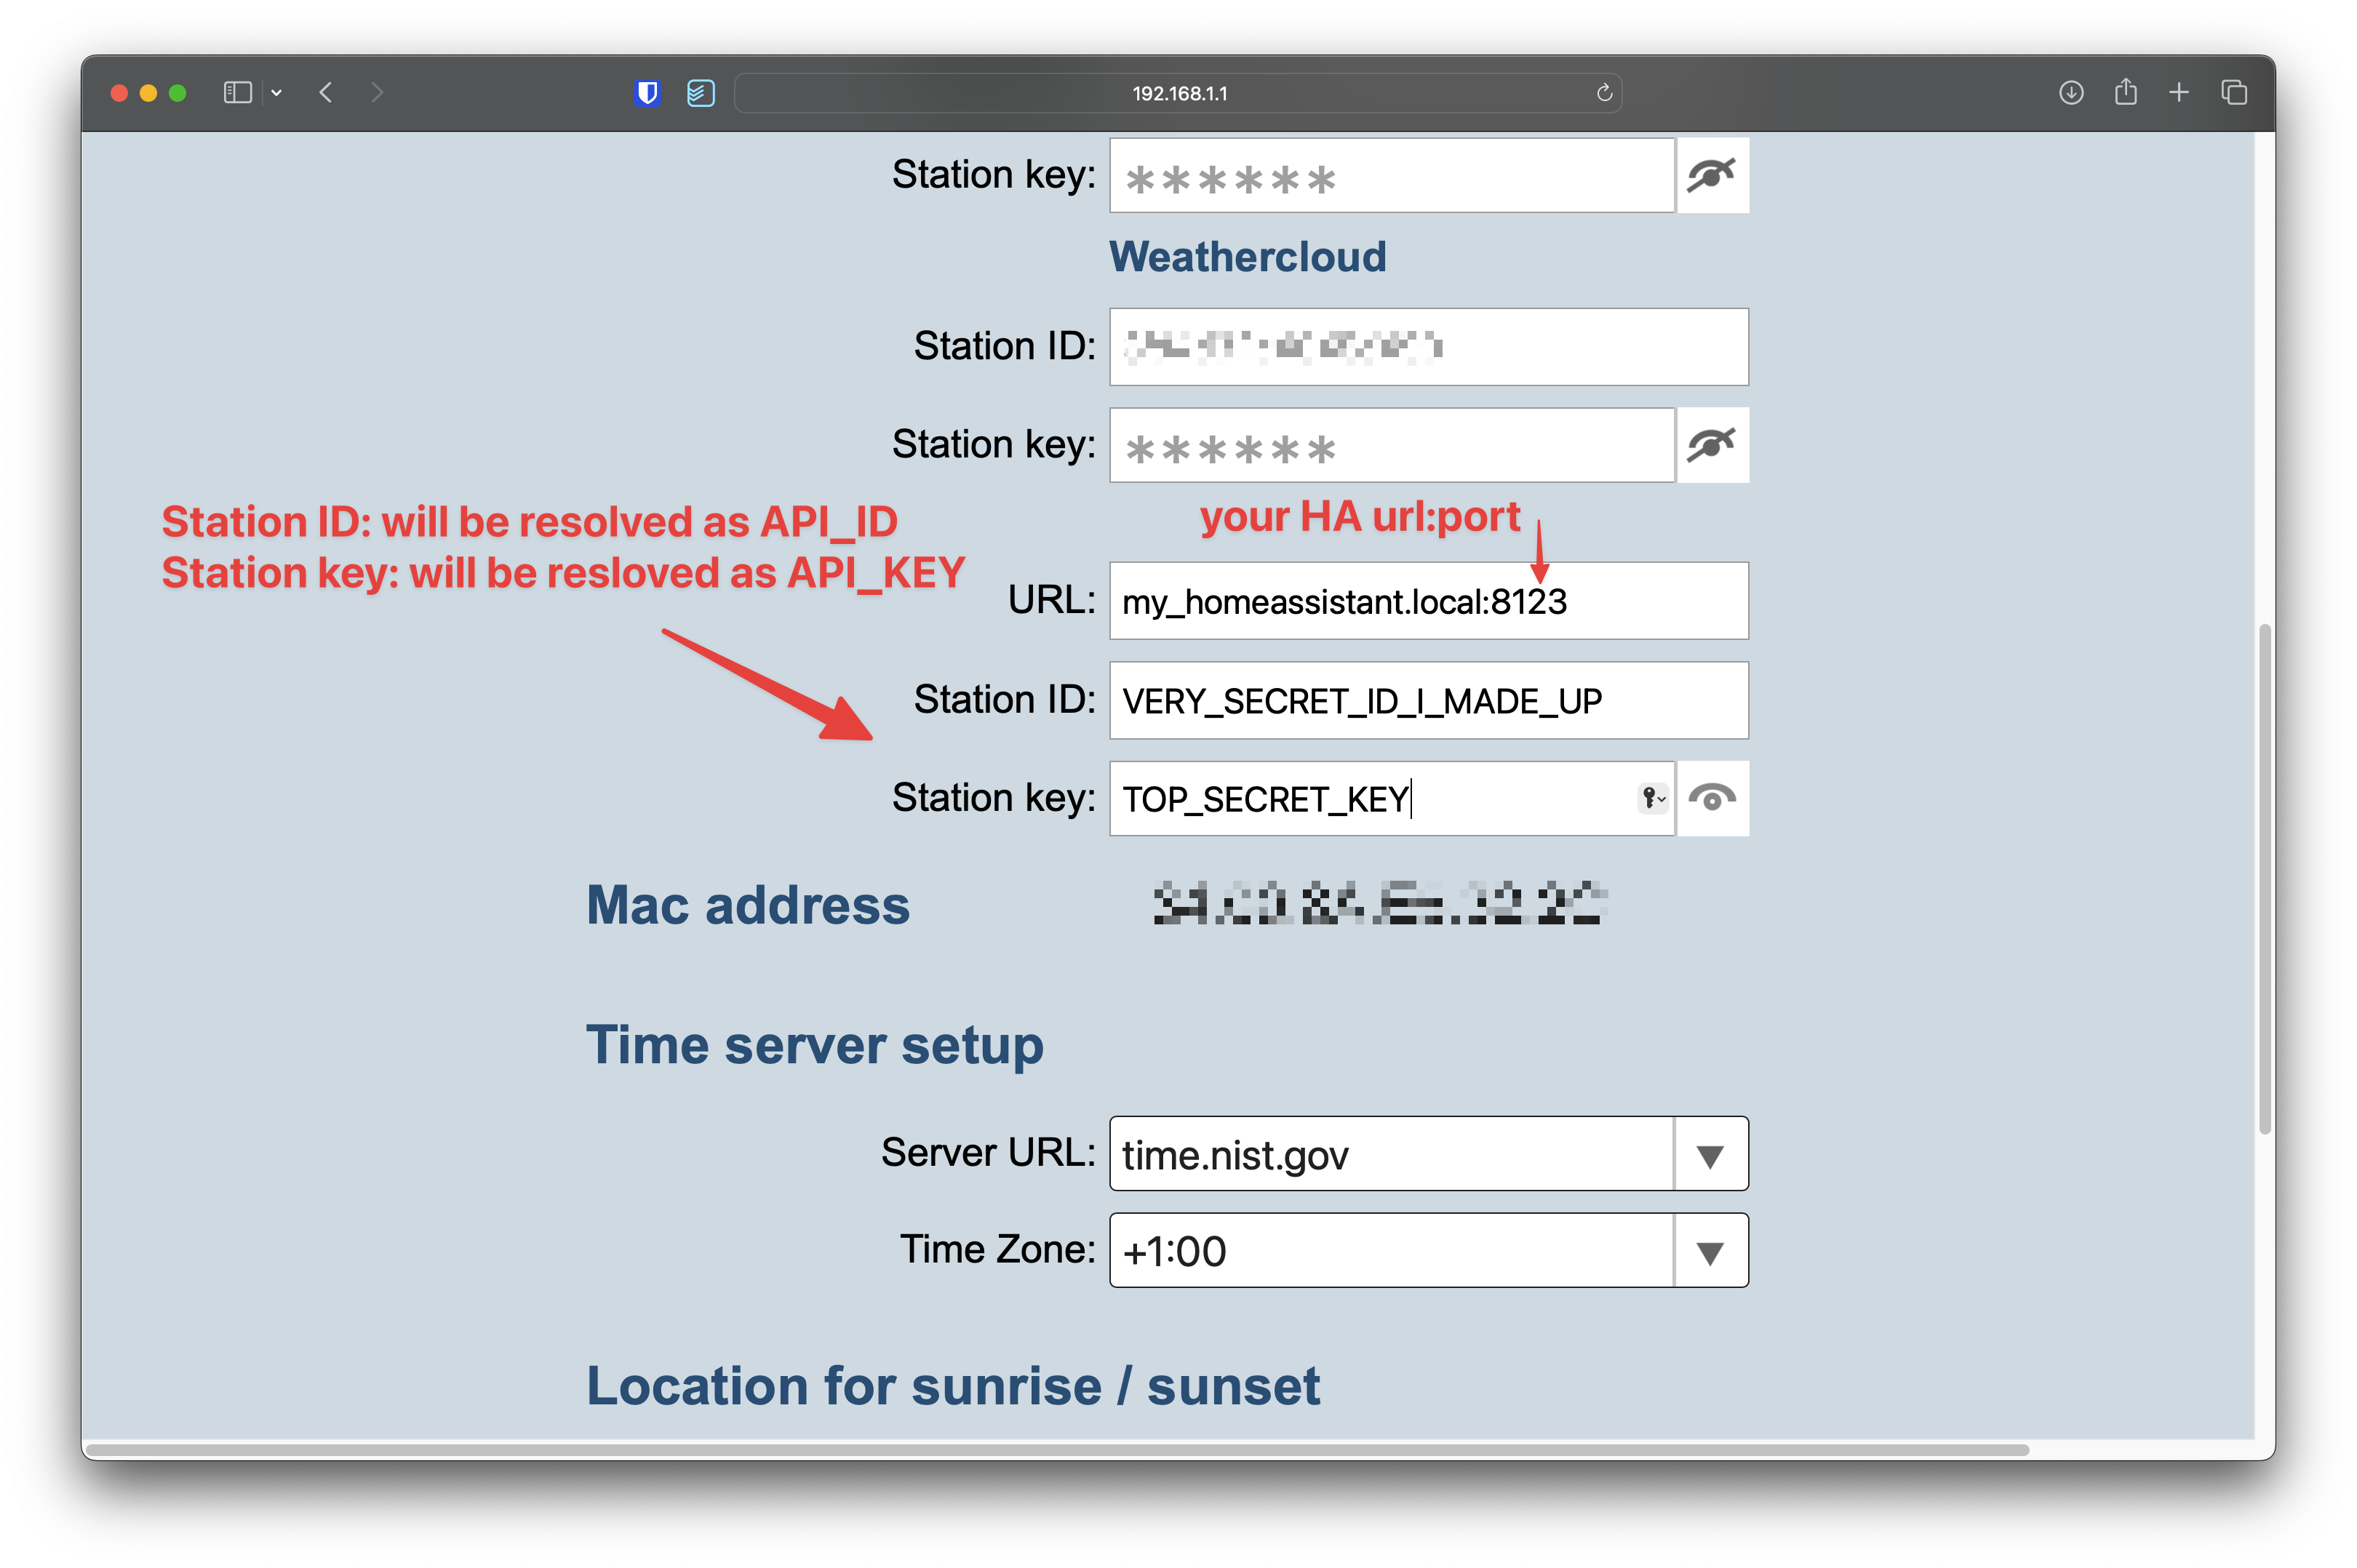
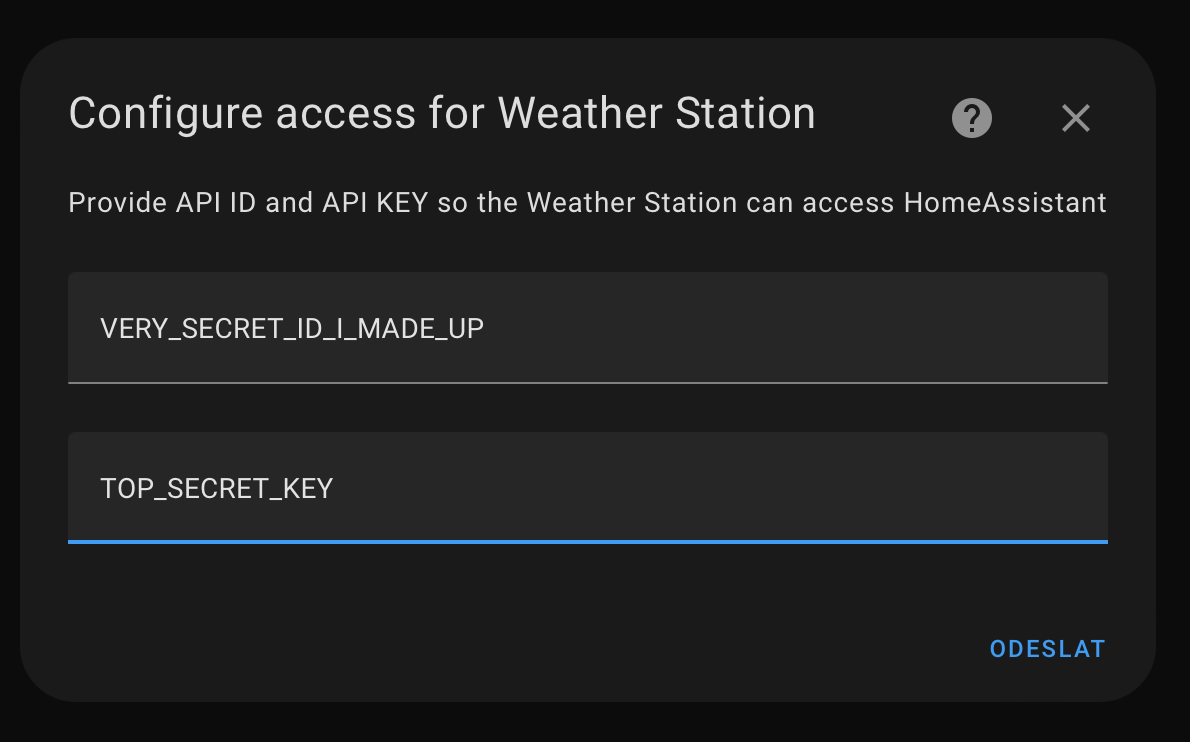
Once integration is added to Home Assistant, configuration dialog will ask you for API_ID and API_KEY as you set them in your station:
API_ID: ID in station's config
API_KEY: PASSWORD in station's config
If you chanage API ID or API KEY in the station, you have to reconfigure integration to accept data from your station.
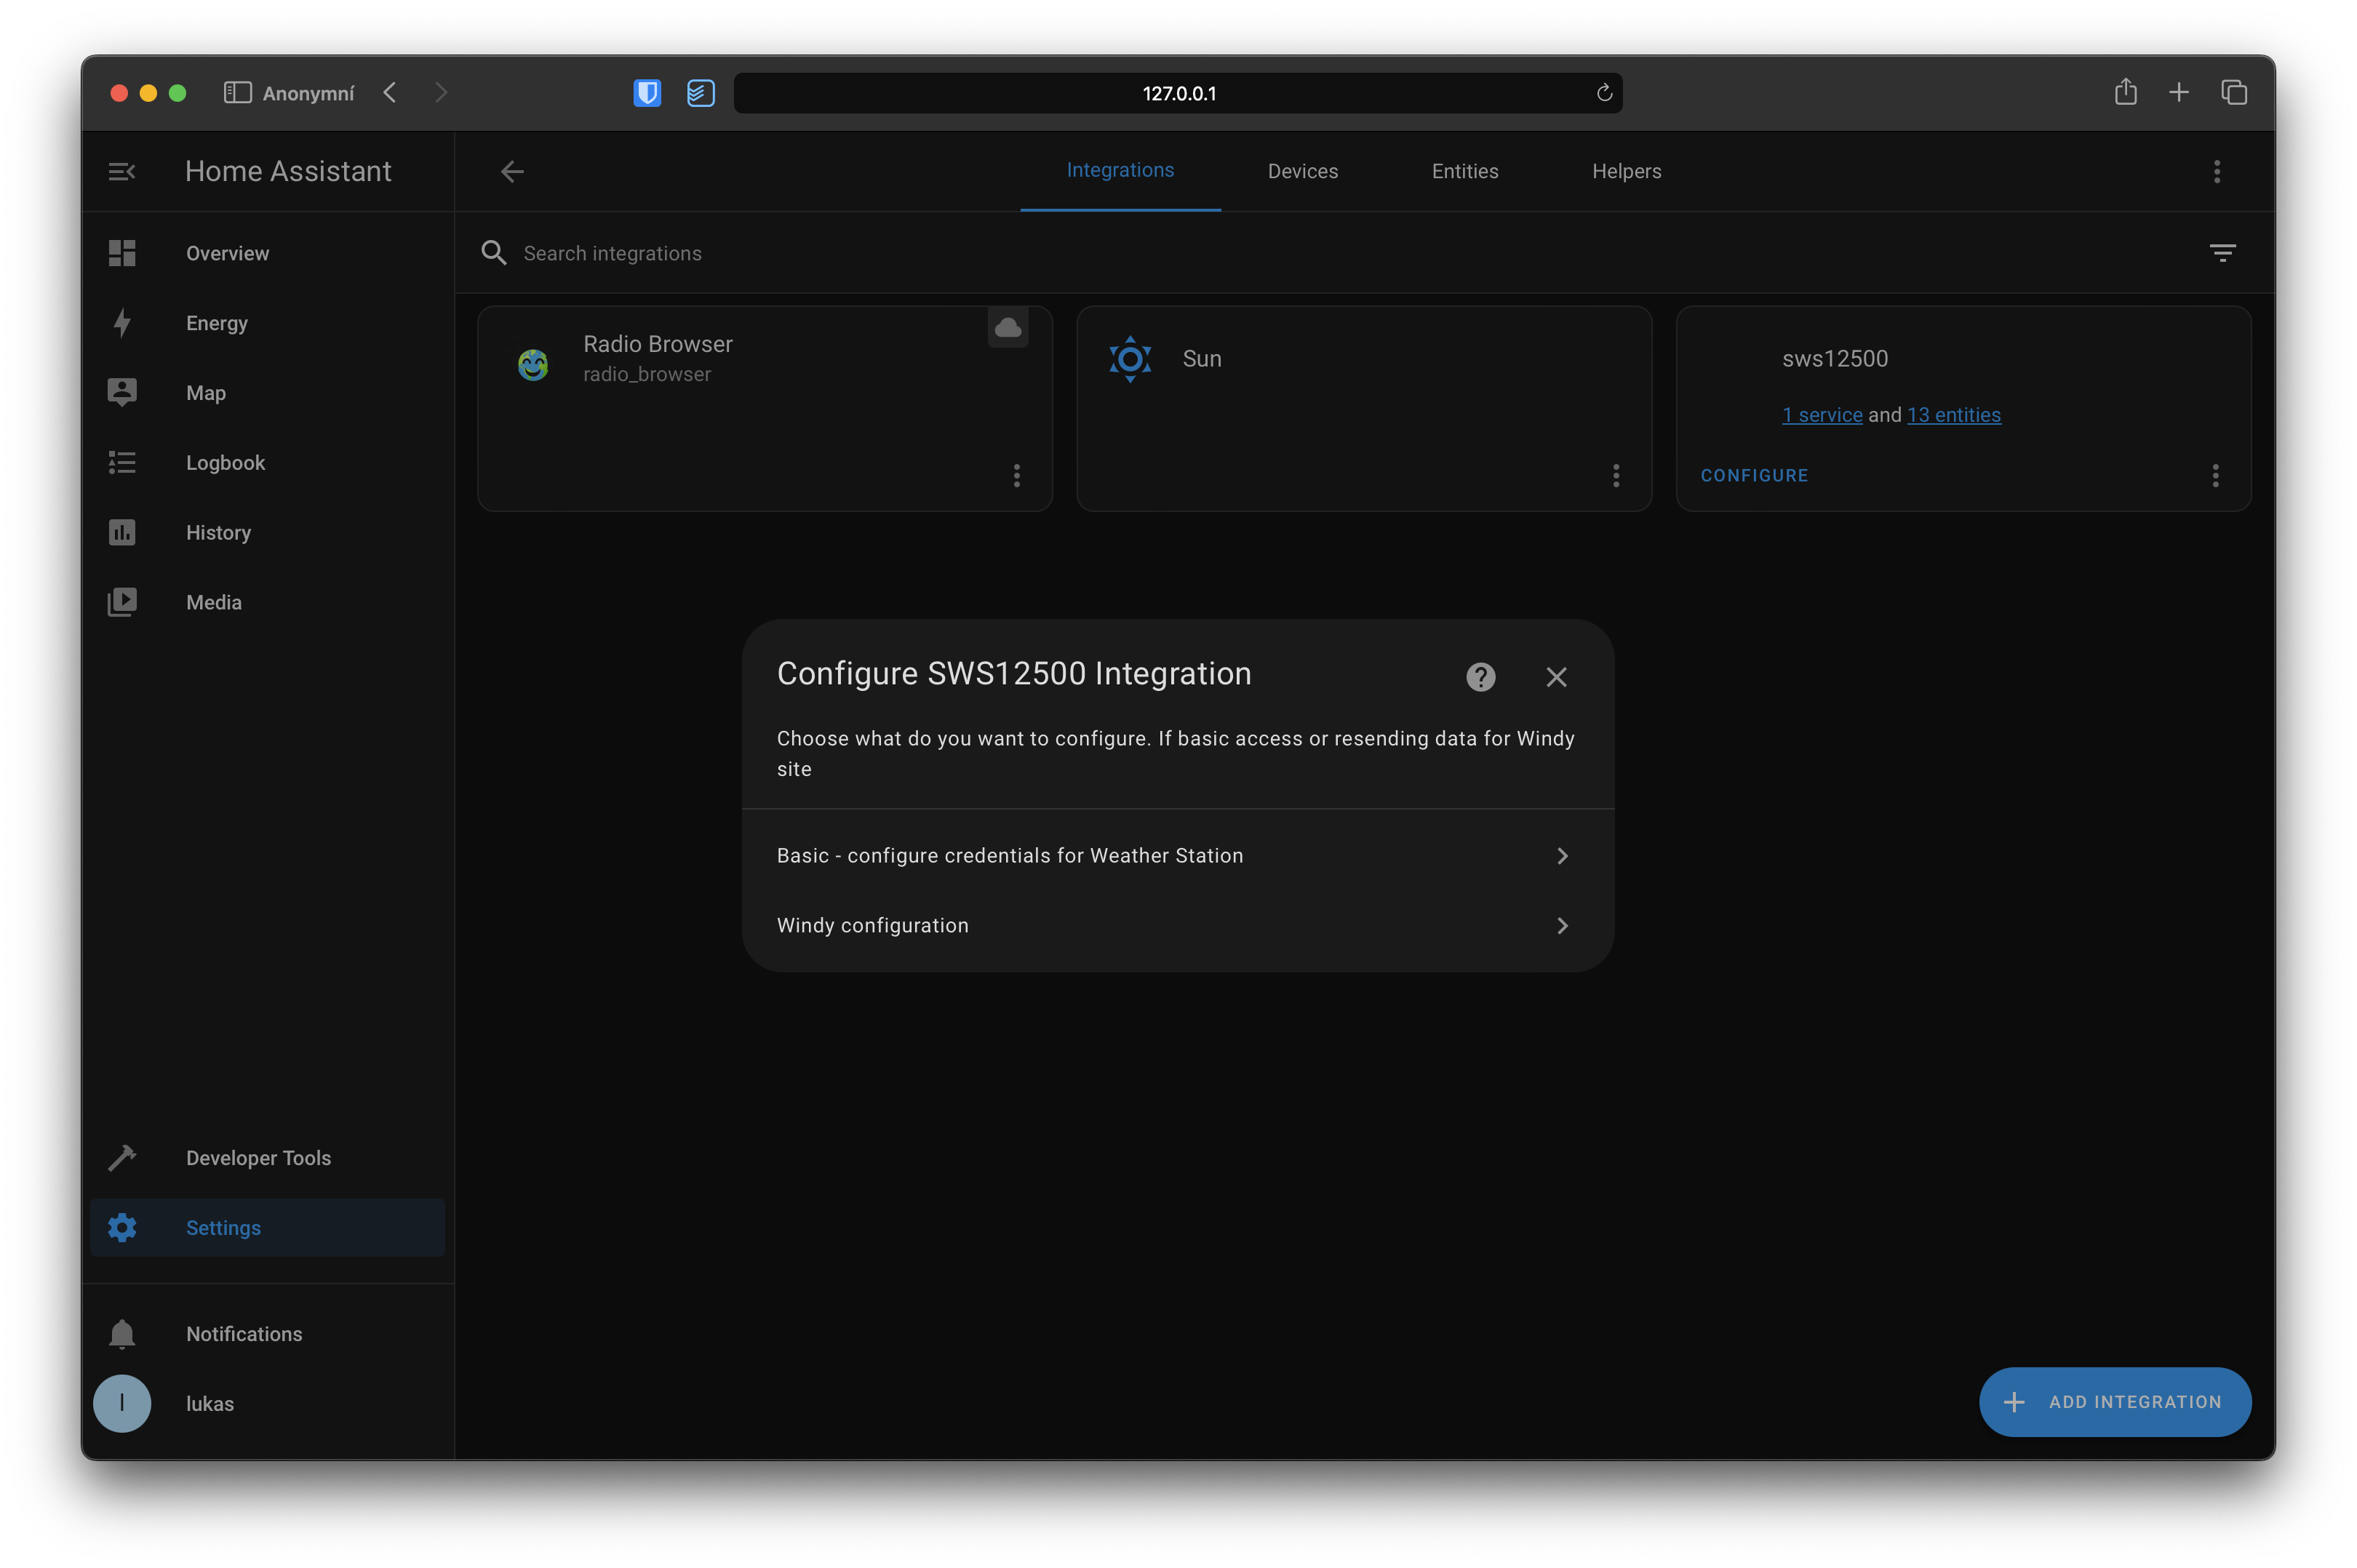
- In
Settings->Devices & servicesfind SWS12500 and clickConfigure. - In dialog box choose
Basic - Configure credentials
As soon as the integration is added into Home Assistant it will listen for incoming data from the station and starts to fill sensors as soon as data will first arrive.
Resending data to Windy API
-
First of all you need to create account at Windy stations.
-
Once you have an account created, copy your Windy API Key.

-
In
Settings->Devices & servicesfind SWS12500 and clickConfigure. -
In dialog box choose
Windy configuration.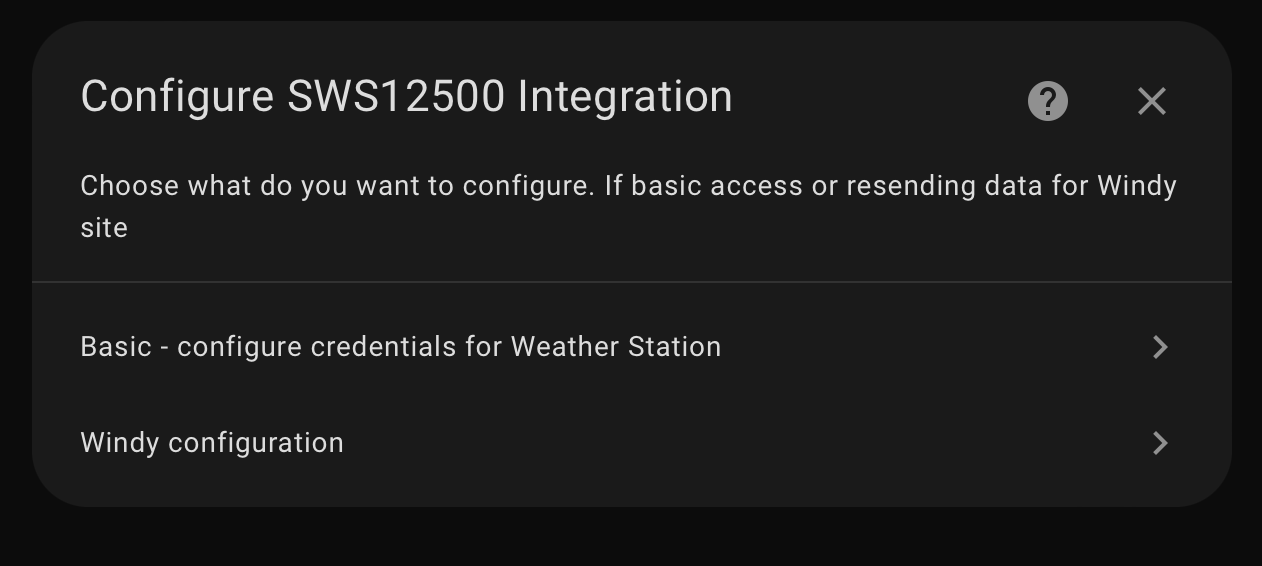
-
Fill in
Keyyou were provided atWindy stations. -
Tick
Enablecheckbox.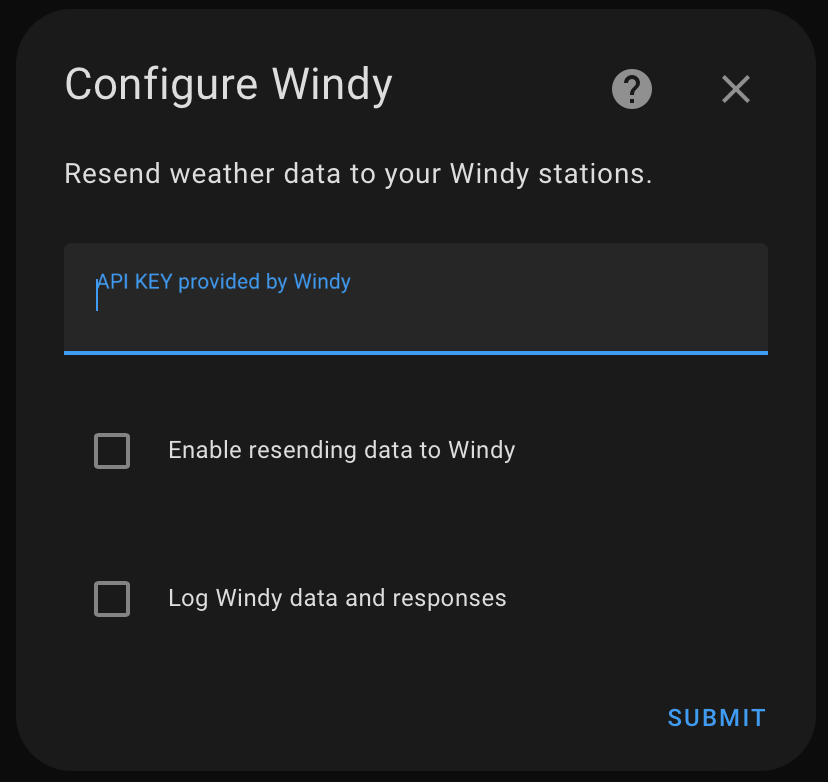
-
You are done.